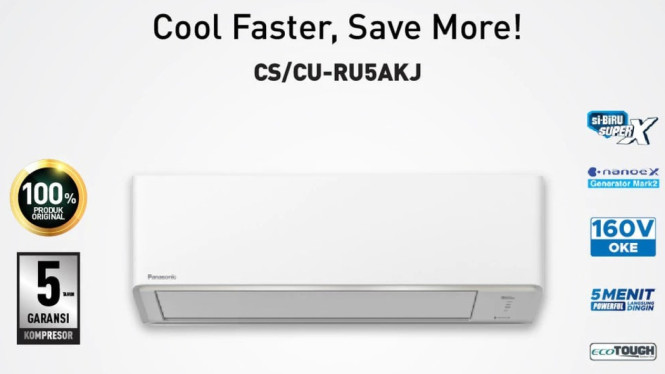
Many homeowners rush to install a split AC during the dry season, aiming for quick relief from the heat. However, improper installation can increase electric bills by up to 40% and damage the unit within months. Understanding the correct installation process is essential before technicians arrive.
Choosing the right capacity for your room is the first step. The AC capacity must match the room size, otherwise the unit works harder, consuming more electricity and causing faster wear. A simple calculation multiplies room area by a height coefficient and 700 BTU. For ceilings over 2.8 meters, a special coefficient applies, and factors such as window size and insulation should also influence the choice.
1. Correct Indoor Unit Positioning
The indoor unit should be installed at least 15 cm below the ceiling to allow good airflow. Ideal height from the floor is between 2 to 2.5 meters to ensure cold air reaches the occupied zone. Avoid placing obstacles in front of air intake or outlet to maintain optimal cooling.
2. Spacious Outdoor Unit Placement
The outdoor unit requires sufficient clearance for heat dissipation. Leave at least 30 cm on the left side, 50 cm on the right, and 10 cm from the wall at the back. Tight spaces lead to overheating, forcing the compressor to work harder, which spikes energy consumption and risks permanent damage.
3. Properly Angled Wall Hole Drilling
The pipe hole in the wall must be drilled at a 5-10 degree outward slope. This ensures condensate water flows outside smoothly. Holes that slope inward or are level cause water to backflow indoors, creating potential humidity problems. Use a water level tool to guarantee precision in angle and sizing.
4. Refrigerant Pipe Cutting Precision
Cut refrigerant pipes using a specialized cutter instead of a regular saw. Smooth and angle the cuts downward to prevent metal shards from entering and blocking the system. The flaring process must be done carefully to avoid leaks; check pipe mouths for cracks or scratches before sealing.
5. Secure Electrical Cable Connections
Electrical connections between cables should be no longer than 5 cm. Twist wires firmly and solder the joint to strengthen contact. Cover the joint with waterproof tape and electrical insulation to avoid short circuits. Poor connections can cause communication failures between units and may even lead to fire hazards.
6. Mandatory Vacuuming Process
Vacuuming removes trapped air and moisture from the refrigerant system. This step should last 15-20 minutes until reaching -30 inHg pressure. Maintain vacuum for at least 5 minutes to confirm stability. Failure to vacuum causes blocked airflow, compressor oil clumping, and reduced cooling efficiency.
Improper installation not only raises electricity bills noticeably but also shortens the lifespan of the AC unit. Each of these seven critical steps should be followed carefully by professional technicians using the right tools and standards. This approach ensures energy-efficient operation and durable performance.
Avoiding these common installation mistakes is key to preventing monthly electric costs from soaring and safeguarding your investment in an air conditioning system. Stay informed and insist on standardized procedures for the best results.
-

-
-

-