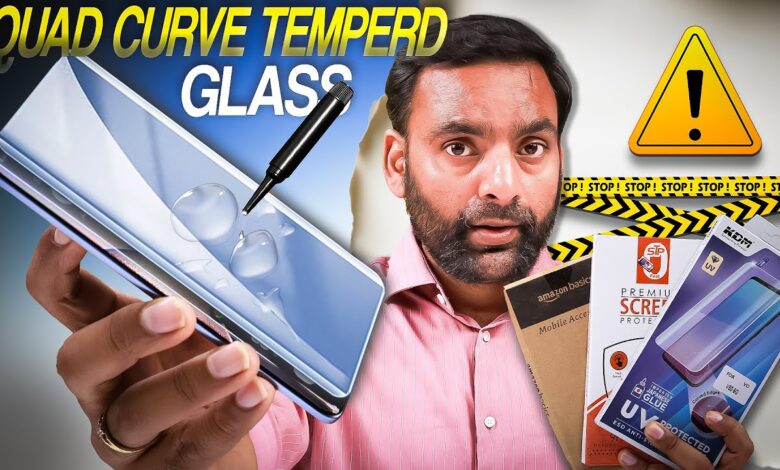
Tempered glass can look simple to install, but curved phone screens often expose its weakest point first: the edges. Even when the center sits neatly in place, tiny air gaps along the side can make the finish look uneven and unprofessional.
The main difference is not the act of pressing the glass down. The decisive step happens earlier, when the screen is prepared, cleaned, and aligned in a stable environment.
Preparation decides the result
A bright room with minimal airflow helps reduce the chance of dust floating onto the screen during cleaning and placement. The phone should also rest on a flat, steady table so the glass does not shift out of alignment.
Clean hands matter as well. Washing with soap and drying thoroughly helps limit oil, fingerprints, and other residue that can interfere with adhesion.
If an old screen protector is still in place, it should be removed first and carefully. Any leftover residue can weaken the bond of the new protector and leave the surface uneven.
The screen should then be wiped with the wet wipe that usually comes in the tempered glass package, followed by a dry wipe. The goal is a clear surface with no moisture, smudges, or visible streaks.
Even then, the screen may still hold fine dust that is difficult to see. A dust absorber or clear tape can be used to lift those particles before the glass is applied.
Alignment is critical on curved displays
Before the protective film is removed, the tempered glass should be aligned with the front camera, sensor, and speaker. This step makes it easier to confirm the position without rushing.
Curved screens leave less room for error than flat panels. A slight shift can prevent the edges from sealing properly and allow bubbles to form near the sides.
For curved displays, UV Glass is often recommended because the liquid adhesive spreads across the surface before curing. The glue is dropped in the center of the screen, then the glass is placed slowly so the liquid follows the curve naturally.
That method helps reduce trapped air, especially along the edges that usually cause the most trouble. It also gives the protector a better chance of sitting evenly across the panel.
If a dry tempered glass model is used instead, the installation has to be done in stages. The glass should be lowered from one side first while the position stays precise.
Any trapped air can then be pushed out with a squeegee or a hard card. A slow, steady motion works better than pressing randomly across the surface.
What to do when bubbles appear
Not every bubble means the installation has failed. If the trapped pocket contains only air, it can often be moved gently toward the edge of the screen.
A card wrapped in microfiber cloth is safer for this process because it reduces the risk of scratching the tempered glass. The pressure should stay controlled and should move in one direction.
If dust caused the bubble, the affected area has to be lifted slightly with care. Once there is a small gap, the particle can be removed with tape before the glass is pressed back down.
That second attempt should be slow and careful so the protector returns to a neat position without creating a new bubble nearby.
Choosing the right protector helps
Curved screens are not well served by generic protectors meant for flat phones. Products designed for curved displays give users a better chance of a clean fit and stronger edge adhesion.
UV Glass, Hydrogel, and Flexible Glass are among the types considered suitable for this purpose. Their structure is better matched to curved surfaces, which makes the installation process easier to control.
When the right product is combined with a clean workspace, accurate alignment, and proper air removal, the result can look clear, tidy, and close to a professional installation.