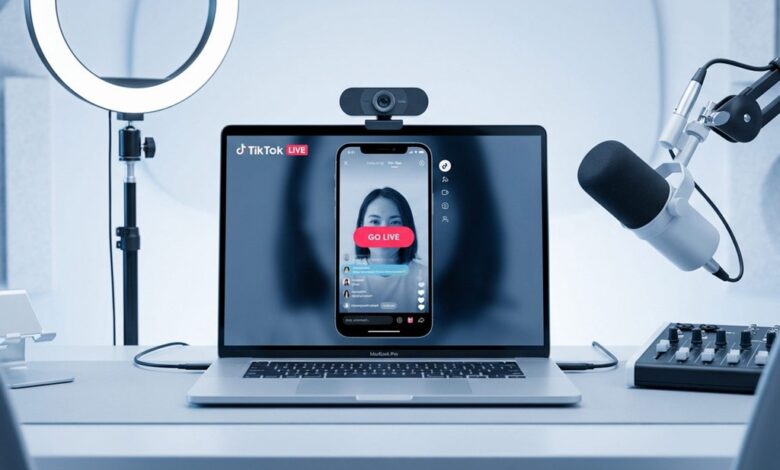
Going live on TikTok from a laptop has become a practical choice for creators who want cleaner visuals and more control over what viewers see. It is also useful for gaming streams, tutorials, presentations, and other content that relies on multiple visual sources.
Before the live feature can be used, TikTok accounts must meet the basic requirements. Users need to be at least 18 years old and have at least 1,000 followers to access live streaming.
Two main paths for laptop streaming
TikTok users generally rely on two common options when streaming from a computer: TikTok Live Studio and OBS Studio. The first is TikTok’s official application for live streaming, while the second offers more flexibility for creators who want deeper control.
TikTok Live Studio is often the more accessible choice for beginners. OBS Studio is better suited to users who want to manage multiple video sources and fine-tune the layout of their broadcast.
Why TikTok Live Studio feels simpler
TikTok Live Studio was designed to make live broadcasting feel straightforward. Because it is directly connected to TikTok, the basic setup can be completed without many technical steps.
The process begins by downloading the official TikTok Live Studio application from TikTok’s LIVE Studio download page and installing it on a laptop or computer. After that, users log in with the TikTok account they want to use for streaming.
From there, the creator sets the camera source, configures audio including the microphone, adds screen sharing if needed, enters a stream title, selects a category or topic, uploads a thumbnail, and clicks Go Live.
Where OBS Studio offers more control
OBS Studio is commonly chosen by streamers who want greater control over the production side of a broadcast. The software supports layout management, transitions, and the use of several video sources at the same time.
To use OBS Studio for TikTok live streaming on a laptop, the essential steps are to install the software, obtain the TikTok Stream Key through the Cast to PC/Mac option in the TikTok app on a smartphone or via the TikTok creator dashboard, and then open OBS Studio.
Inside OBS Studio, users go to Settings > Stream, paste the Stream Key, add video sources such as a camera or computer screen, organize the layout, and start the broadcast with Start Streaming.
How the two tools differ in practice
| Tool | Main Strength | Best For |
|---|---|---|
| TikTok Live Studio | Simple setup and direct TikTok integration | Beginners and users who want a faster workflow |
| OBS Studio | Flexible scene control and multiple sources | Creators who want more technical control |
The choice depends on the streamer’s goals and comfort level. When convenience matters most, TikTok Live Studio is the more practical option, while OBS Studio is better for broadcasts that need a more complex visual structure.
What should be ready before the stream starts
Hardware readiness matters just as much as the app itself. Cameras, microphones, and other visual inputs should be checked before going live to avoid disruptions during the broadcast.
Stream titles, categories, and thumbnails also help viewers understand the content quickly. These small settings make a laptop-based TikTok live session look more organized and easier to follow from the moment it starts.
With the account requirements, equipment, and streaming app in place, creators can begin a TikTok live session from a laptop in a way that matches their needs, whether that means the simplicity of TikTok Live Studio or the broader control of OBS Studio.