


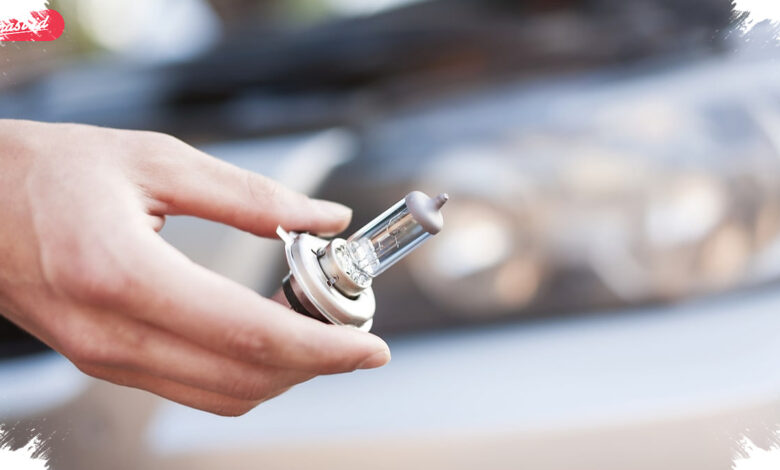
A headlight that fails again soon after a new bulb is installed may indicate an electrical problem rather than normal bulb wear. Unstable voltage from the regulator or alternator can shorten the life of a replacement bulb.
This issue matters because one non-functioning headlight reduces visibility at night, during heavy rain, and on poorly lit roads. Proper lighting also helps other road users identify the vehicle’s position.
When a Replacement Bulb Is Not the Answer
For vehicles using halogen lamps, an aged filament remains one of the most common reasons a single headlight stops working. The filament gradually wears down through use and eventually breaks.
However, repeatedly replacing a bulb without checking the electrical supply may leave the actual fault unresolved. A newly installed bulb that burns out quickly should prompt an inspection of voltage regulation and charging components.
| Possible Cause | Visible Symptom | Initial Check |
|---|---|---|
| Normal bulb wear | One headlight is off | Install the correct bulb type |
| Unstable voltage | New bulb burns out quickly | Check the regulator or alternator |
| Worn or corroded socket | Dim, flickering, or sudden failure | Inspect socket and connector |
| Brittle cable or loose connection | Intermittent power loss | Inspect wiring installation |
| Blown fuse | Headlight suddenly will not turn on | Check the lighting-system fuse |
Excessive voltage caused by a faulty regulator or alternator can place additional stress on a bulb. For that reason, frequent bulb failure should not be addressed by buying another bulb alone.
The socket deserves equal attention because heat can discolor, melt, or corrode its material. Damage in this area can make the electrical flow to the lamp inconsistent.
Wiring and Fuses Also Need Inspection
Older vehicles may have wiring that has hardened or cracked after prolonged exposure to engine-bay heat. Loose joints and damaged insulation can interrupt current intermittently, causing headlights to flicker or switch off without warning.
A fuse should also be checked when a headlight stops working suddenly. The component is designed to protect the circuit from excessive current and may blow first during a minor short circuit.
If the inspection points to a failed bulb, replacement can be carried out carefully at home. The engine should be switched off and the ignition key removed before opening the bonnet to reduce the risk of a short circuit.
The rear section of the lamp housing is commonly covered by a rubber or plastic cap. Once the cap is removed, the electrical connector should be detached gently before the bulb retainer is opened.
Retaining systems vary by vehicle and may use a wire clip or a twist-lock mechanism. The old bulb should be removed carefully to avoid damaging the holder or nearby wiring.
Handle the New Bulb Correctly
The glass section of a new bulb should not be touched directly with bare hands. Natural oil from the skin can leave residue that creates a hot spot once the lamp is switched on, potentially reducing bulb life.
A clean glove can be used, or the bulb can be held only by its base. Refit the retainer, reconnect the plug, secure the housing cover, and test the light after installation.
LED and HID systems may require a broader inspection when the light remains off after the lamp unit is replaced. The fault may be located in the driver module or ballast rather than the bulb itself.
Before a long trip, all exterior lights should be checked, including main beams, high beams, turn signals, brake lights, and reverse lights. Replacing both left and right bulbs together may also be considered when one fails from age, as their service lives are often similar.
Light output is not determined only by the bulb and electrical system. A cloudy or yellowed lens can obstruct the beam, so cleaning or restoring the lens may improve night-time visibility.