A solder joint can look acceptable at first glance and still fail later because of small mistakes made during the process. In electronics work, long-term reliability depends on much more than simply melting solder and letting it cool.
The most common problems often come from basic steps that are easy to overlook. Temperature control, a clean iron tip, proper heating technique, correct cooling time, and the right solder type all shape whether a joint stays strong or turns fragile.
Heat management is often the first weak point


Temperature is one of the most important factors in soldering because it affects how well the solder melts and bonds. When the iron runs too hot, protective flux can burn, the tip can oxidize faster, and the copper pad on a circuit board can be damaged.
Low heat is not harmless either. It can create a cold solder joint that looks dull, clumpy, and weak. Alloy solder generally melts around 360 to 370 degrees Fahrenheit, while soldering iron settings are usually around 660 to 750 degrees Fahrenheit so the heat is sufficient for proper flow.
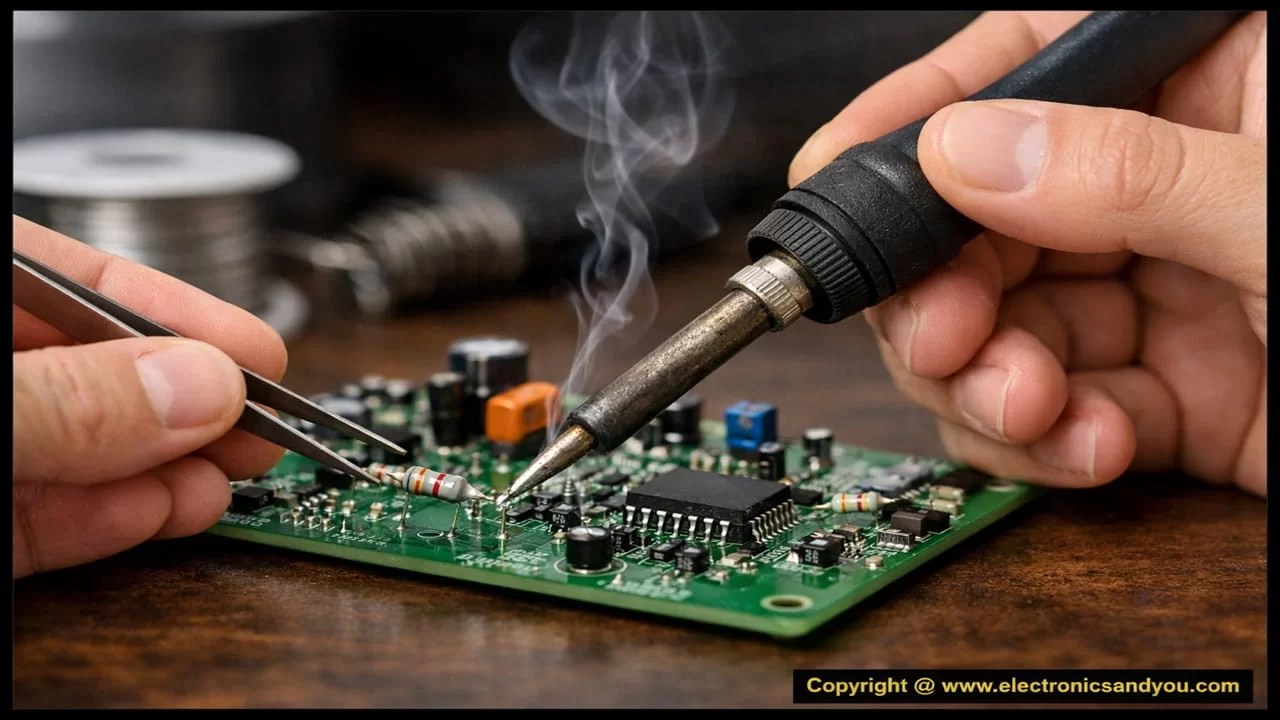
Heating the part, not just the solder
Another frequent mistake is touching solder to the iron tip first and then trying to smear it onto the connection. That method leaves the component too cool, so the solder solidifies too quickly and never forms a proper bond.
The result is a joint that does not flow well and can crack or break more easily. The better approach is to heat the meeting point of the parts first, then apply the solder directly to the joint so it melts where it should.
A dirty tip can weaken the whole connection
Dust, carbon, and other residue can build up on a soldering iron tip over time. Once that happens, heat transfer becomes uneven and the solder does not bond as effectively to the component.
A poor bond can reduce the conductivity of the joint and make the connection less dependable. Wires and circuit boards can be cleaned with isopropyl alcohol and a lint-free cloth, while the hot iron tip is usually cleaned with a brass sponge or a cellulose sponge moistened with distilled water.
After cleaning, the tip should be tinned with a small amount of solder. That thin layer helps heat move properly and also protects the tip from scratching and oxidation.
Movement before cooling causes hidden damage
Solder cools quickly, but it does not become solid instantly. If the connection is disturbed too early, the bond can shift before it fully sets, leaving the joint loose even if the damage is not visible right away.
This often happens when a board is bumped or a cable is touched before the solder has finished cooling. Holding the parts steady during soldering helps prevent that problem, and a soldering stand or helping hands can keep components in place until the joint hardens.
Cooling time is short, but it is not always the same for every part. Some joints need about 10 seconds, while larger surface-mount resistors and capacitors may need up to 20 seconds.
The solder itself matters more than many beginners expect
Not all solder is designed for the same task. Solder used for electrical work, plumbing, and jewelry does not always suit electronics, and different types behave differently depending on the job.
Options include lead-based solder, lead-free solder, rosin-core solder, acid-core solder, flux-core solder, and silver-alloy solder. Each has different strengths, weaknesses, and melting points, so the choice should match the project rather than being treated as interchangeable.
Tin-lead solder is still considered a standard choice for electronics. Lead-free solder is a more health-conscious alternative, although its reliability can vary depending on the needs of the work, and solder thickness also affects how much material melts on contact.
Small errors in soldering often do not show up immediately, which is why they are so easy to miss. But a joint that was overheated, underheated, contaminated, moved too soon, or made with the wrong material can fail much faster than expected.